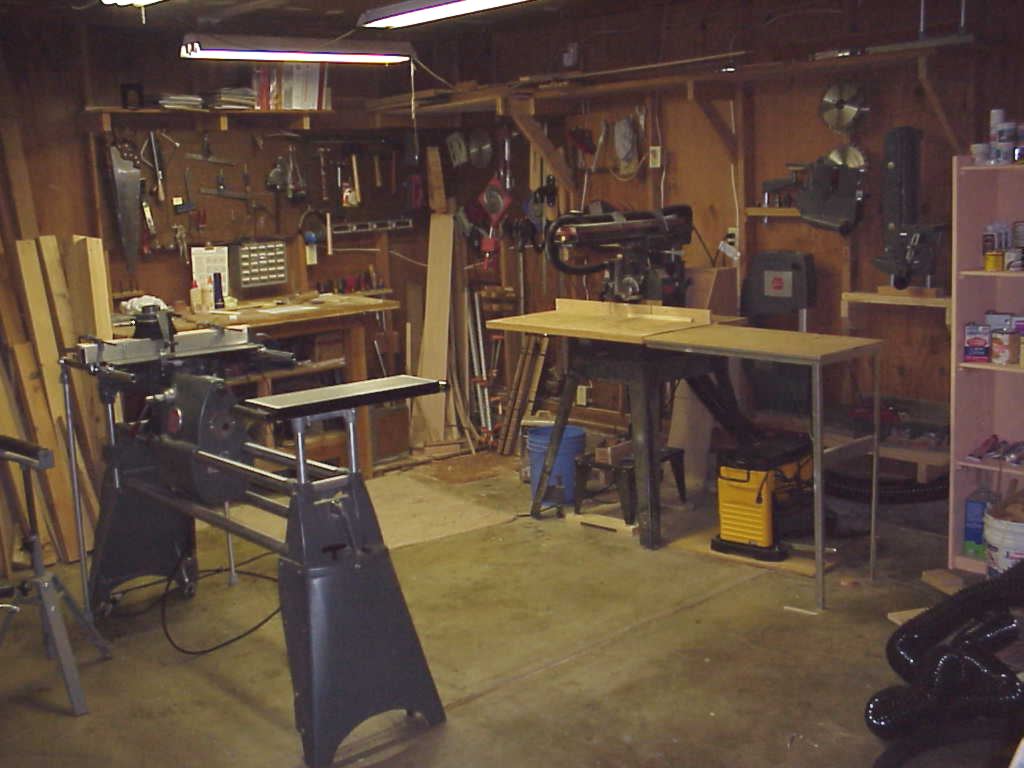
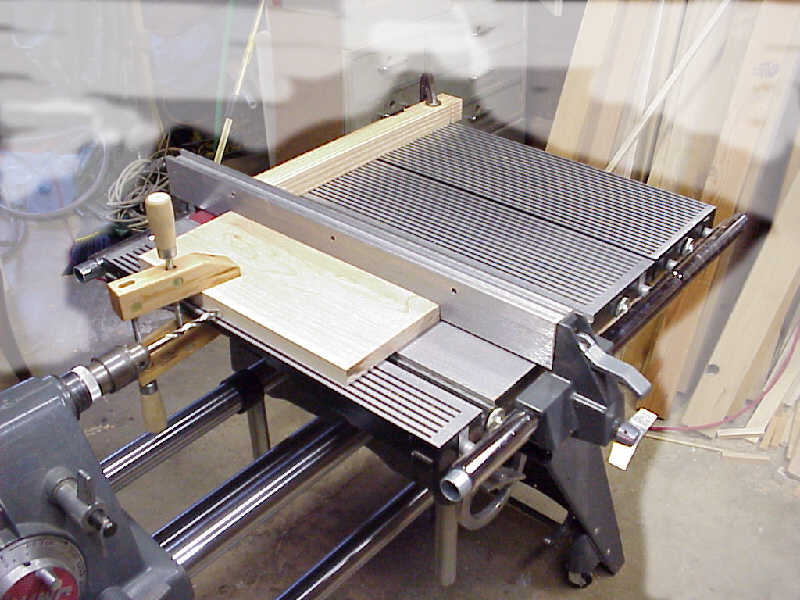
This is my shop, showing my Shopsmith Mark V that I've had since the early 80's, Craftsman RAS (even older), and various other tools in nooks and crannies. Mounted on the wall on the right are the bandsaw, jointer, and belt sander accessories for the Shopsmith. Under the RAS is a DeWalt planer and my old Craftsman router table. Since the picture was taken, I've replaced the router table with a Jointech Cabinetmaker System -- a much larger table with a precision fence. Alas the company is now out of business. This table would appear at the far right of the picture, if it were there! The shelf above holds various jigs and fixtures and long strips of molding. There's also a dust collector and plywood storage off camera. The shop occupies 1/4 of our two car garage. Click on the images to see more detail.
I've got a FAQ list for Shopsmith products here. It is quite old, and most of the links from it are long gone.
It's not woodworking, but I've got a living room end table that is actually a computer! Look here.
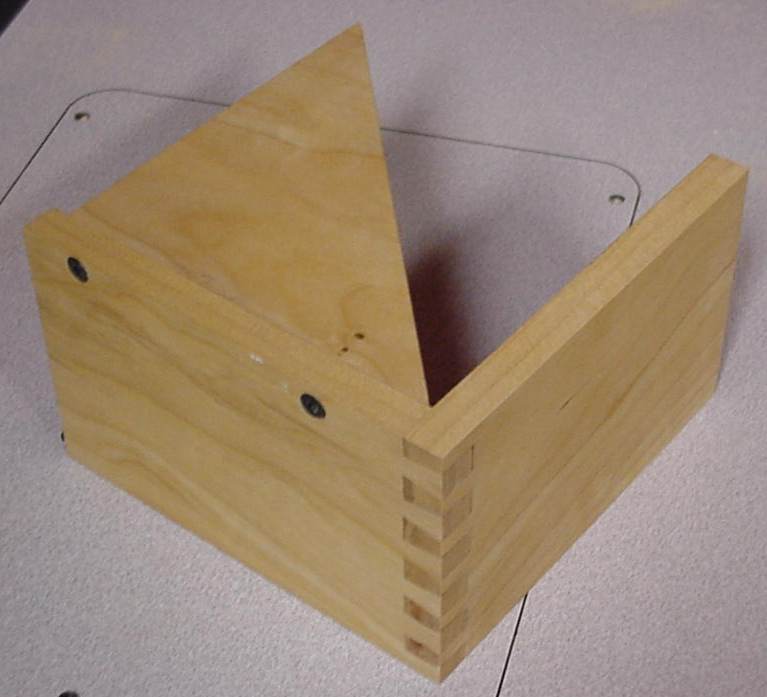
This wooden wedge was my most profitable project and was made entirely using the Shopsmith. It saved the company I worked for $6,000 and weeks of delays by "fixing" a mis-designed IC wafer probe. Alas, I didn't get any of the savings, but it still shows that a home workshop can save money.

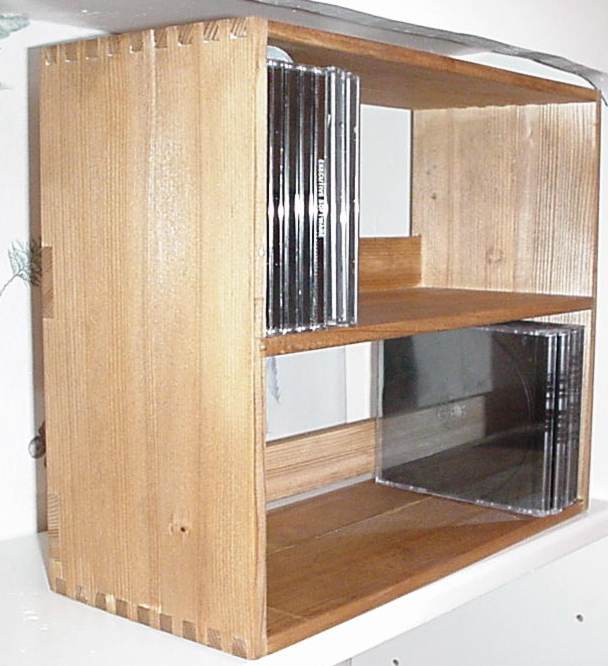
Another project I did for the exercise is this CD Shelf. It is made from a scrap 4x4 fir post, resawn to a 3/8" thickness. The corners are dovetailed, and the back pieces fit into routed notch. The sad thing is that fir doesn't stain well at all.
|
|
 |
 |
 |
 |
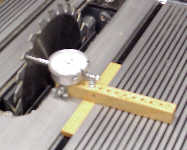
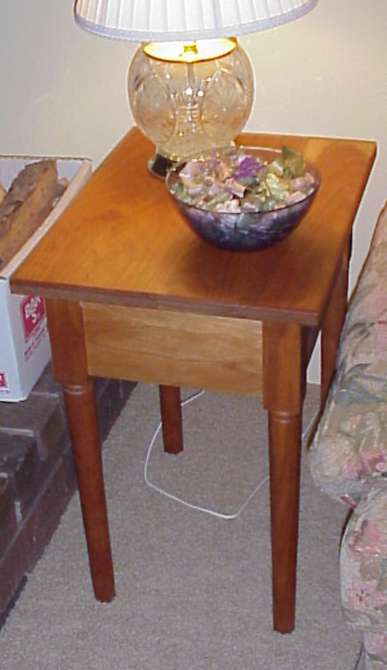
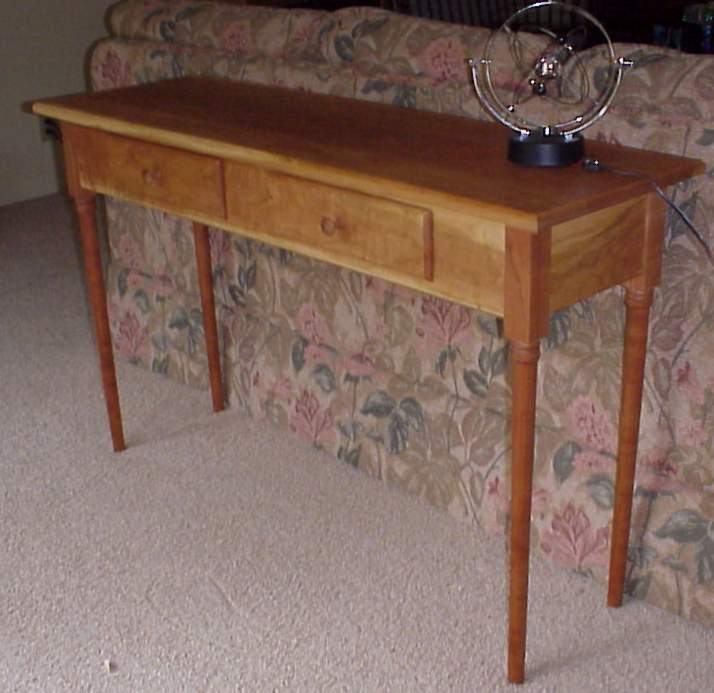
I've made lots of different furniture over the years -- stereo cabinets, children's furniture (small table and chairs, dresser, toy box), lots of bookshelves and racks, video game cabinet, various storage cabinets, jewelry displays, drawer and closet organizers... The finer stuff is mostly in oak, with some early pieces in walnut and redwood, and some recent work in maple. Next major project is an entertainment center in cherry, however I'm making molding at the moment. This past Spring I completed a cherry end table with a hidden drawer (the front of the table is actually a full width drawer), and a modified version of Norm Abram's Library Table.
 |
 |
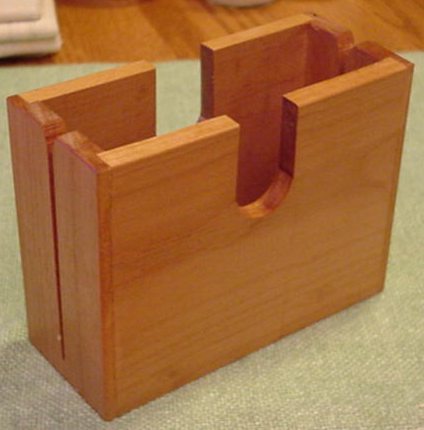
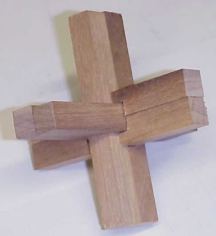
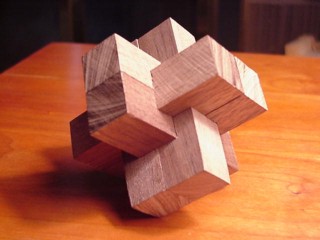
Finally there is my Jack Puzzle. There are some new pictures showing the way I now notch the pieces using my Jointech system. The puzzle pictured here on the left was notched with a stacked dado cutter. The one on the right, shaped as the traditional "burr" puzzle, was notched using the Jointech system. Both of these are made of walnut.
 |
 |
|
Tom Almy webmaster9@almy.us Return to About Me page |
Last Modified September 2019
Return to my HOME PAGE |